Don't have an account?
Creating an account has many benefits: check out faster, keep more than one address, track orders and more.
Or
Checkout as a Guest
Place your order without creating an account for extra convenience.
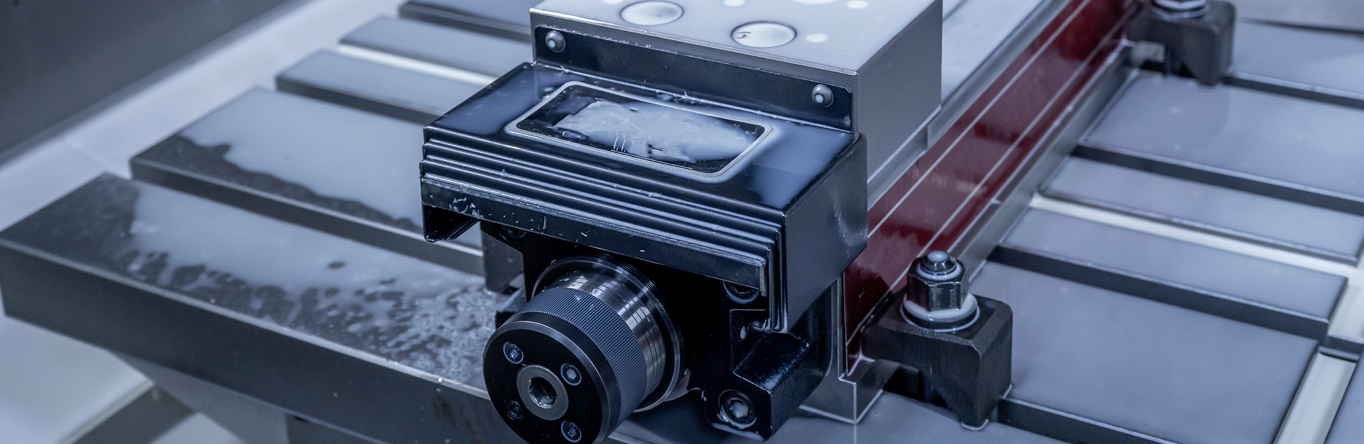
How to Set Up a Machine Vice Properly on a CNC Machining Centre

Contents
Introduction to Machine Vices
The accuracy of your machining process doesn’t start with the tool - it starts with the setup. A misaligned or improperly secured machine vice can lead to tolerance issues, chatter, poor surface finishes, and even scrap parts. Whether you're using a 3-axis vertical machining centre or a 5-axis mill, knowing how to set up your vice properly is essential for precise, repeatable machining.
In this guide, we'll walk through the complete process of setting up a machine vice, from preparation to final verification.
Why Vice Setup Matters
A machine vice (or milling vice) is the most common workholding device used on CNC machining centres. It’s built for high clamping force, precision alignment, and rigidity. But if it’s mounted even slightly off-angle or out of level, everything downstream - from tool engagement to final part dimensions - is affected.
Proper setup helps ensure:
-
Accurate squareness and parallelism
-
Consistent clamping force
-
Reduced rework and improved part quality
-
Faster job repeatability
Step-by-Step Guide to Vice Setup
1. Clean the Table and Vice Base
Start with the basics - clean contact surfaces are critical. Any chips, dust, or coolant residue on the machine table or vice base will cause uneven mounting.
-
Wipe the machine table and vice base thoroughly.
-
Use a deburring stone to gently remove any dings or burrs.
-
Blow off with air to remove remaining dust or oil.
2. Mount the Vice on the Table
-
Place the vice in the desired orientation (typically parallel or perpendicular to the X-axis).
-
Use T-slot bolts or clamping kits to loosely secure the vice.
-
Make sure the bolts are finger-tight but still allow for slight adjustment.
3. Indicate the Vice Jaw for Alignment
-
Mount a dial test indicator on the machine spindle or toolholder.
-
Sweep the fixed jaw (usually the rear jaw) by jogging the X-axis across its length.
-
Adjust the vice by gently tapping with a soft-faced mallet until the indicator reads zero (or within your desired tolerance, typically ±0.01mm or 0.0004").
-
Once aligned, fully torque down the mounting bolts evenly
4. Check for Vice Lift
When you tighten a workpiece in the vice, especially with heavy clamping force, the movable jaw may cause the vice body to tilt or lift.
-
Place a test piece in the vice and tighten it.
-
Re-check the parallelism of the fixed jaw using the dial indicator.
-
Some vices come with anti-lift mechanisms - ensure these are clean and functioning correctly
5. Set Work Offsets (G54, G55, etc.)
-
Insert a workpiece or parallel bar into the vice.
-
Touch off the tool on the top surface or edge of the part and set your work coordinate system (WCS).
-
Zero your Z-height and XY positions as needed and double-check values in the controller.
6. Test Run the Setup
-
Run a simulation or dry run with the vice and part clamped.
-
Use single block mode to verify safe clearances, especially when using large cutters or deep pockets.
-
Inspect part alignment and surface contact before committing to full-speed machining.
Pro Tips for a Flawless Setup
-
Use Precision Parallels when machining through holes or undersize stock.
-
Add a Workstop for consistent part loading in production runs.
-
Check Clamping Torque using a torque wrench for repeatability.
-
Use Soft Jaws for complex profiles or to reduce marking on finished parts.
-
Level Multi-Vice Setups with a gauge block or test indicator to ensure uniform Z-height.
Common Setup Mistakes to Avoid
-
Relying on eyeball alignment without using an indicator.
-
Overtightening mounting bolts before tramming.
-
Ignoring vice lift or clamping deflection.
-
Skipping table cleaning - small chips can throw off alignment by tenths.
-
Setting work offsets from the movable jaw (which can shift under load).
Final Thoughts
A perfectly machined part starts with a perfectly aligned vice. Taking the extra few minutes to properly clean, tram, and secure your machine vice pays off in accuracy, repeatability, and tool life. Whether you're a seasoned machinist or just getting started, making vice setup part of your standard routine will lead to fewer problems and better results.
Got questions about vice alignment tools or setup accessories? Please contact our technical team on 01924 869 615 or email sales@cutwel.net.